Programming lights using real-world values allows you to swap one fixture for another and get predictable results. Far more useful is the fact that the same values are used to control different types of lights in a similar fashion. Looking at the zoom attribute demonstrates this again.
It is quite common to have two or more different types of lights in today's lighting rigs. Matching beam sizes is a process of grabbing one type of light, setting its zoom, then selecting the other and tweaking it to match. You cannot grab both and crank the wheel and hope to get matching results. Natural Language Control eliminates this unnecessary practice.
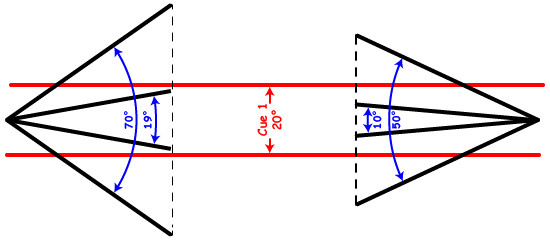
Here are two lights; one that has a zoom range of 19° to 70°, the other from 10° to 50°. Cue 1 calls for the lights to use a zoom of 20 degrees:

All you have to do is turn them on and Cognito defaults them to the same value of 20°; they're already the same size! Your rig looks consistent and symmetrical with no undesirable surprises and no need for manual re-translation. If you want them to match your 19° or 26° or 36° fixed lights, just set the Zoom value to the appropriate level.
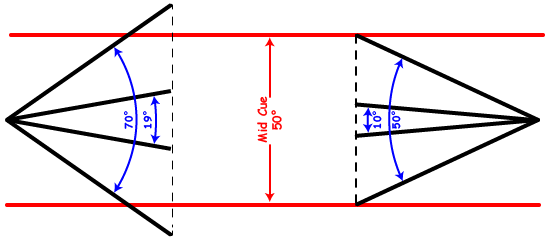
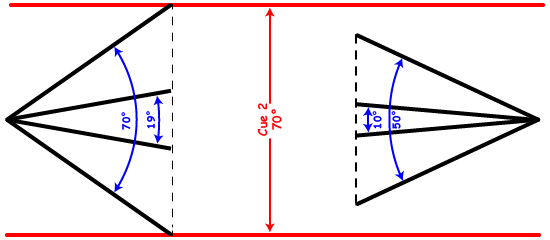
If Cue 2 was written such that both lights go to 70° both lights would resize at the same rate until the one on the right has to give up mid cue:

The light on the left would complete the cue zooming all the way to 70°:

To be fair, Cue 2 could not have been written using the light on the right. This cue must have been recorded using a light that can achieve 70°. Even though in this example it was played back using a 50° light, it does not change the cue. If you later swapped it back to a 70° light, it would go to 70°. It is only when writing cues that you are limited to the physical constraints of the light currently patched.
Next: Shutter Control Example